Setting up a proxy in Proxifier
What is Proxifier?
Proxifier is probably one of the most popular tools for working with proxy servers. The program can make even those programs that do not have this in their functionality work with the help of proxy servers. The popularity is explained at least by the fact that the program is always stable, there are not too many analogs, and the interface is largely intuitive and does not lead to any particular difficulties. However, sometimes they still appear, because Proxifier does not have Russian-language support. Let’s take a look at how to use Proxifier.

First, we need to download the program from the official website — proxifier.com. And after installation, we launch. Of course, we will also need our proxy data 🙂
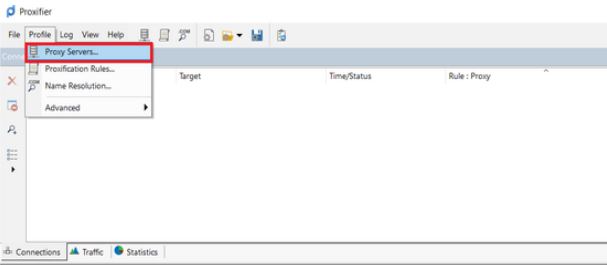
- Open the “Profile” section, and then go to the “Proxy Server” section
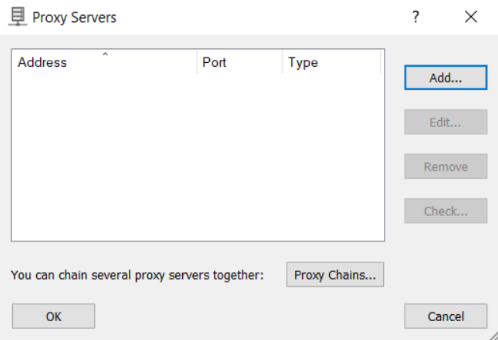
- We will be given a new window where we press the “Add” button
- And again a new window appears in which we need to enter data about our proxy servers in the appropriate fields.

- In the “Address” field, we need to enter the proxy IP address data.
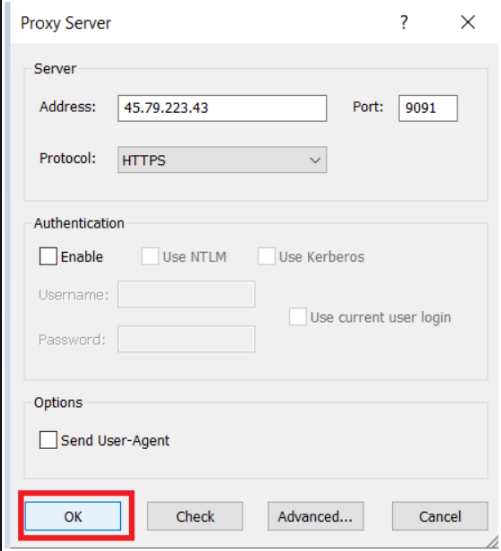
- In the “Protocol” field, which is easy to translate, we need to select the proxy protocol we use. Be it Socks4/5 or HTTPS.
- This time we select the HTTPS protocol, and after that, in the “Port” field we enter the port data of the proxy used.
- In the case when proxy authorization will work using user authentication, we check the “Enable” box, and then enter our account data in “Username”, and “Password”, in the form of a login and password, respectively.
- We do not touch the “Options” section.
- We press «OK».
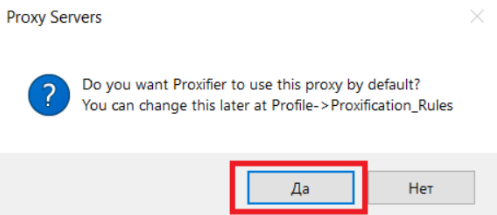
If this is your first proxy setting, then upon debut, Proxifier will prompt you to set the proxy to the Default rule. If we are interested in this function, then we confirm, that if the work of the proxy is not necessary for the operation of the entire computer, then we reject it.
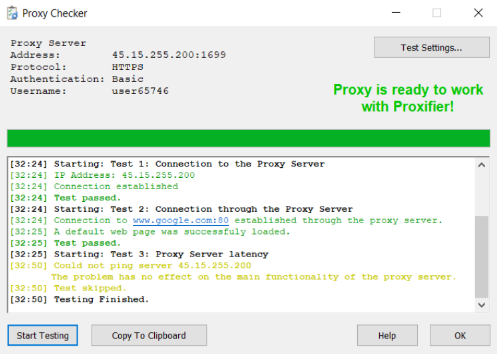
You can check the performance of your proxies using the “Check” button. Proxifier will be able to check everything on its own. If the result is the same as in the image below, then everything is in order with the proxy.
To direct the proxy to individual programs, and not to the entire computer, we will need to create a specific rule in Proxifier. Next, point by point:
- Open the «Profile» section
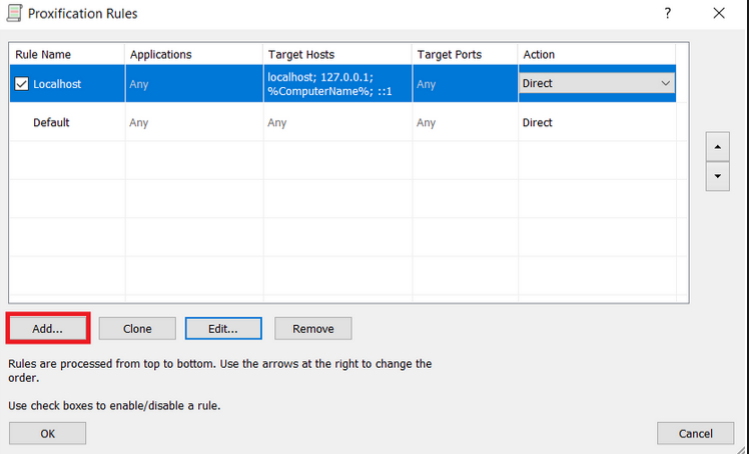
- Go to “Proxification Rules”
- After that, at the bottom, on the left, we click on the “Add” button
- The new rule needs to be given a name, in the “Name” field. We enter any data that suits you in the form of a rule name.
- Press the «Browse» button
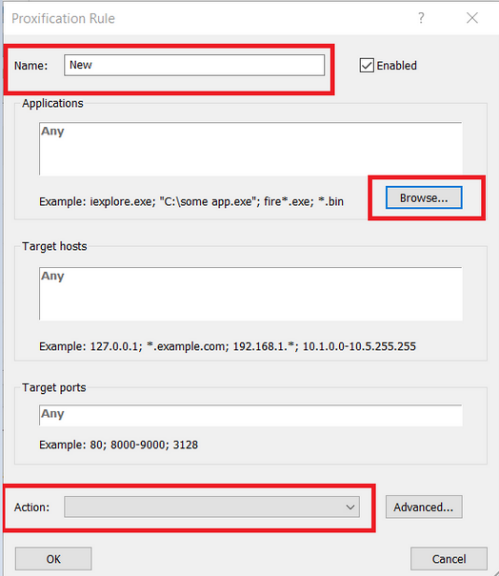
- Specify the path to the program of interest to us, which should work through a proxy server. After “Action” selects the proxy we created before.