What is DNS and what is it for?
DNS server is part of the Domain Name System, this server is responsible for comparing domain names on the network with the current IP addresses of the machines on which they are located. Thanks to DNS servers, users can simply type in regular website addresses, rather than remembering their IP, additionally.
Let’s talk about DNS without complicated words
Webspace (the entire Internet network) is an incredible number of sites that are located on physically existing machines and servers. Each such resource has a unique identifier in the entire web space — it is also an IP address. DNS is a group of numbers (4) that is separated by a dot. To open a website, we need to submit a request to the server on which it is located via the IP address. Now imagine that you and other ordinary network users are doing this. Sounds absurd. For these reasons, the domain name system, which we call DNS, was developed.
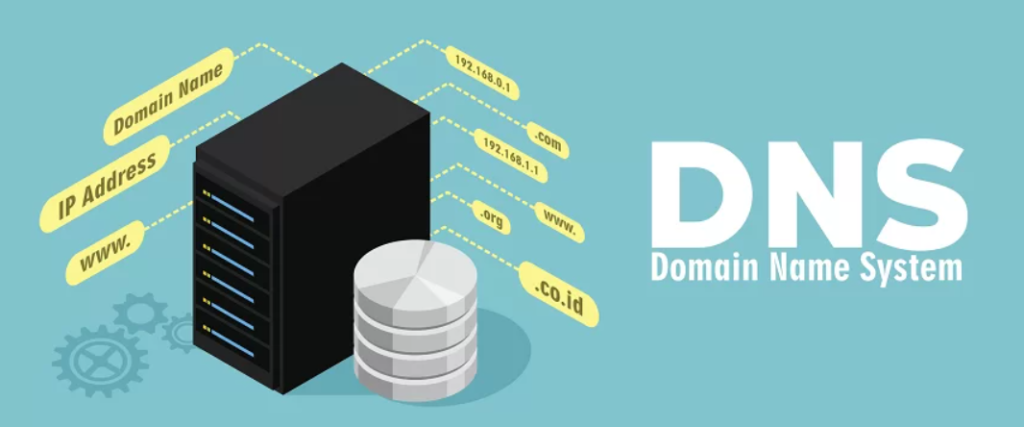
Servers that are part of the DNS store special lookup tables. Domain names, in other words, the alphabetic names of sites, are compared in these tables with the IP addresses of the servers on which such sites are physically located.
To put it more simply, a DNS server is like your phone list of contacts. The phone contacts contain the person’s name and number so that you don’t have to remember the digits of his phone number to dial him, but just know his name in the contact list. In general, DNS servers can be described in the same way. Of course, if you dig deeper into the topic, then there are many nuances and differences, but the main theme of DNS servers is exactly that.
How do DNS servers work?

Let’s imagine a situation that you probably face every day:
You decide to go to the site and enter the URL (letter link) of this site in the address bar of your browser. Roughly speaking, on the World Wide Web this literal link does not have any sensible weight, it simply is not there, it is for this reason that the first action of your browser will be to contact the DNS server that was specified in the connection settings. We will discuss exactly how to make these settings later. Further, the scheme of work does not end, when the server receives the URL, it starts searching in the table for the corresponding IP address, and when it finds it, it returns the data to the client device. And only after these actions, the browser requests the node on which the site you are interested in is located, and there, using the HTTP protocol, it will receive the necessary content of the site, which you will soon observe on your screen.
Learn more about configuring DNS

As an example for explanation, we will take the most popular OS — Win10. Server addresses are configured in the settings field, which is responsible for accessing the Internet. We are just interested in him.
On the taskbar, at the bottom, on the right, we need to find the network connection icon. Right-click on it, and open the «Network and Internet Settings» field. A window appears in which there are many different sections. In the «Change network settings» group, find the «Configure adapter settings» section and open it using the LMB.
A new window opens where all your network connections will be collected, or rather the connections of the device itself. Now you need to find the connection through which Internet access generally works. Using RMB on the icon of the corresponding connection, we need to go to its properties.
Now we have a list of components that this connection uses. We are looking for a line called “IP version 4 (TCP / IPv4)”, open it with the LMB, and go to the properties, they are a little lower. A window opens that interests us, here the address of the DNS servers are set.
The question would be quite logical: what server addresses can we specify in these settings? We won’t list them all, but the most popular ones are listed below:
Google: preferred — 8.8.8.8, alternative — 8.8.4.4;
Yandex: preferred — 77.88.8.8, alternative — 77.88.8.2;
OpenDNS: Preferred is 208.67.222.222, Alternate is 208.67.220.220.
Of course, this is just a drop in the ocean among the possible existing DNS servers that you can specify yourself by entering manually. A little patience and the use of a search engine will tell you the variety of other servers.
After completing the settings, click the “OK” button, and then simply close the window.